Sharing is caring!
It is important to give our children a solid foundation in World History. It can be difficult, however, to engage young children in learning about facts, figures, and time periods that occurred thousands of years ago. One fun and interactive way to review history facts is to create a lapbook. Today, I will share an easy DIY world history project! You just need 1 or 2 file folders and your favorite history curriculum to begin.
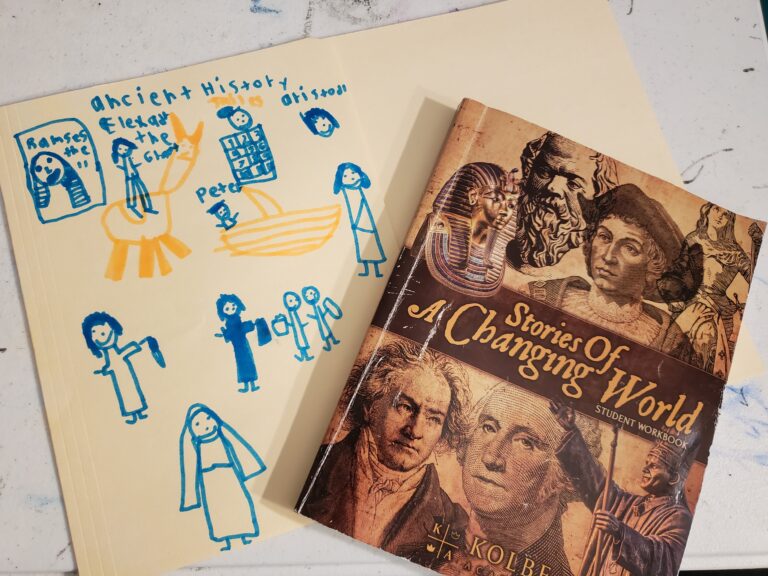
A Catholic World History Lapbook
Today, I will show you how I created a lapbook based off of Kolbe Academy’s 3rd grade World History curriculum entitled Stories of a Changing World.
This curriculum is a great introduction to World History with important Catholic and non-Catholic historical figures and events woven throughout.
At the end of the Ancient History Unit, I wanted a laid back and fun way to review what we had learned. So, I made a simple “Who am I” Ancient History Lapbook to share with my kids. It was a hit!
What is a lapbook?
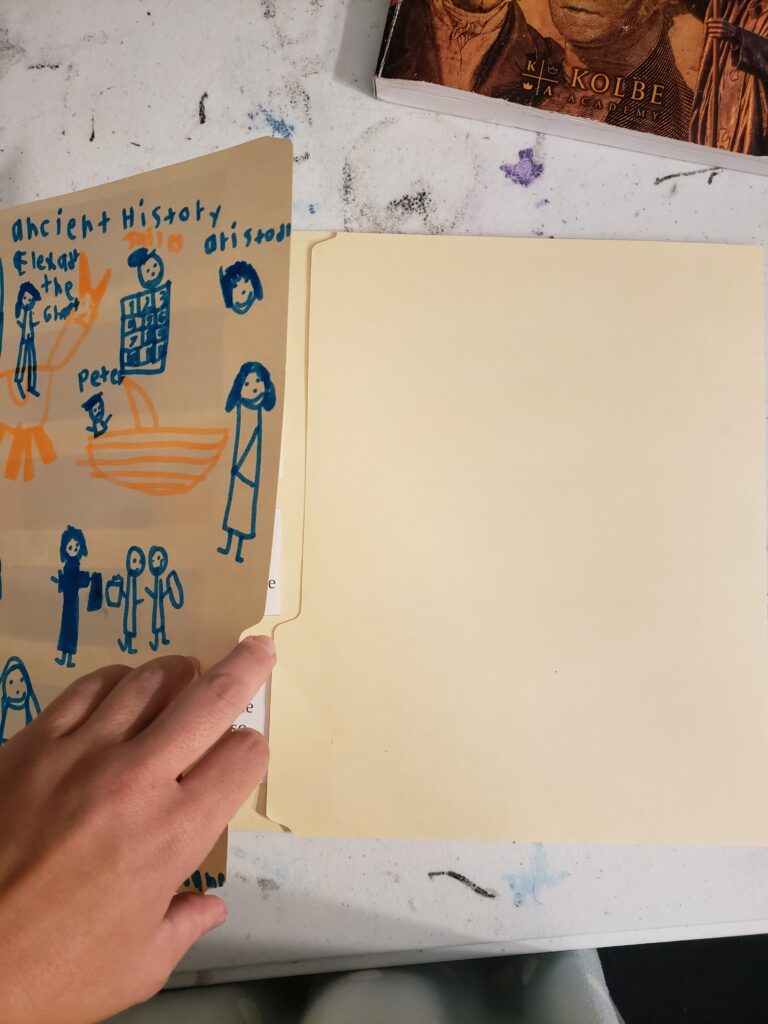
A lapbook is made from 1 or more regular file folders. You can use the easy-to-find light tan folders or buy some fun colorful folders.
Then, the folders are assembled to resemble a book. Usually, the front has flaps that open to reveal the content inside.
The content is organized in a visually appealing fashion on the inside to help students review information that they have learned.
Lapbooks can be made at the end of a unit, or can be made little by little throughout a course. It’s a very flexible and fun way to organize facts for all ages!
A had a lot of figures (16) to fit into this lapbook, so I decided to use 2 file folders. In order to connect two files folders, you, first, open them up and lay them side by side. Then, overlap the two folders so that there are no holes or gaps. Glue with a glue stick to secure. I also like to reinforce this edge with tape on the front and back.
How to make a world history lapbook
For this World History project, I will show you how to make your own easy History lapbook. I made this lapbook for my children at the end of our Ancient History Unit.
1. Decide on what content you want to include for review
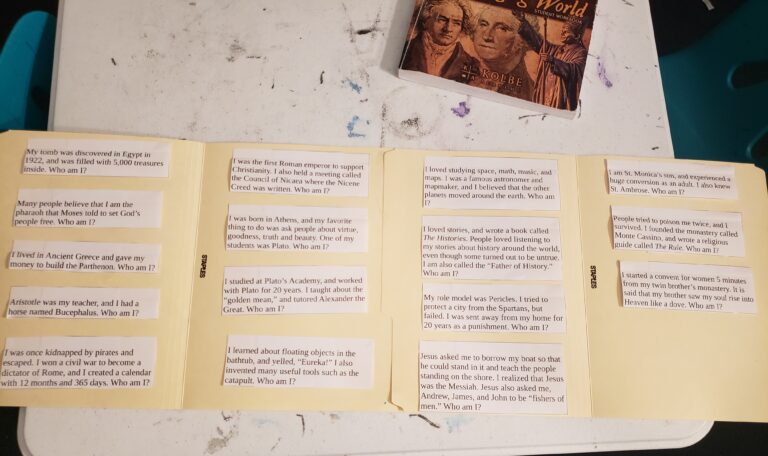
For this lapbook, I chose to focus on the key historical figures that we learned about. I went through the workbook, and made up a little “Who am I?” description for each key figure.
For example:
My tomb was discovered in Egypt in 1922, and was filled with 5,000 treasures inside. Who am I? (King Tutankhamun)
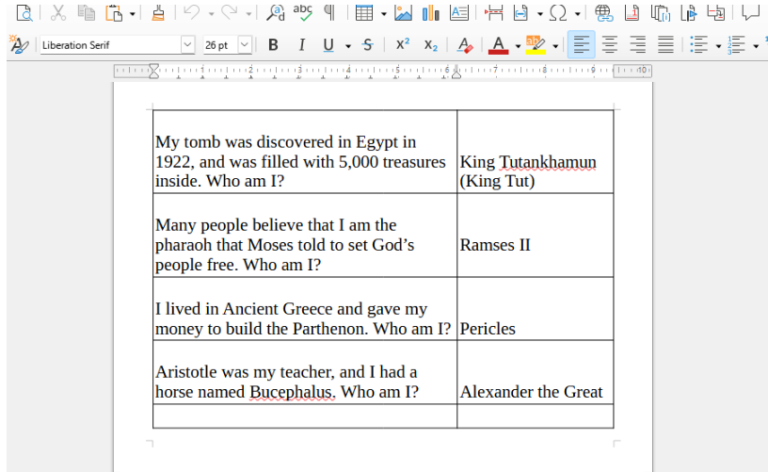
2. Compile your questions/facts into a table
I then used my word processor to organize all of the key figures into a table like this. The question is in the left column, and the answer is in the right column:
3. Format your facts in the font size and type that you desire
I wanted to keep the facts and figures clean, simple, and easy to read so I went with the default font of the program in size 26. This allowed me to spread out the 16 figures nicely throughout 2 notebooks.
4. Print and cut out your facts
Next, I printed out my facts on regular printer paper. You could use colored paper for fun if you wish!
Then, I cut out each rectangle, so I now had 16 facts with their matching figure.
5. Assemble the figures and facts in your lapbook
I decided to do a lift-the-flap style inside the lapbook so that my children could quiz themselves independently. I simply glued the figure down first. Then, I applied glue just to the top back of the fact so that it could be flipped up to reveal the figure.
Simple and effective!
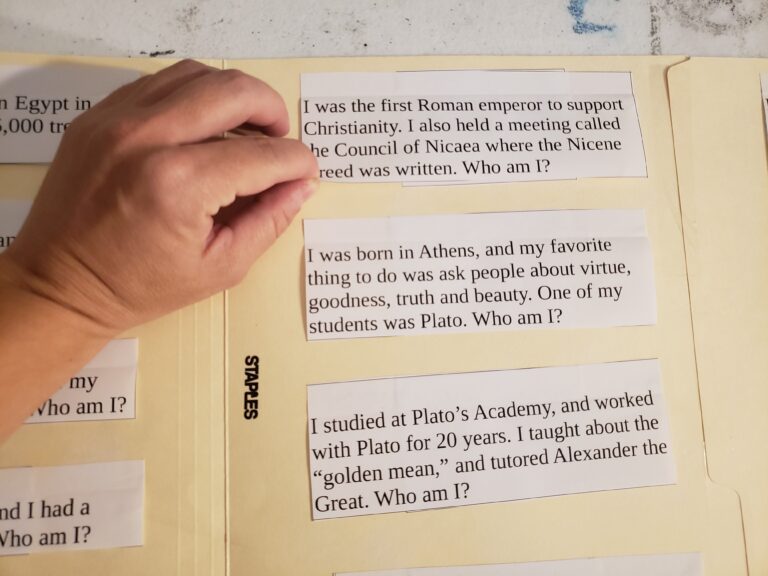
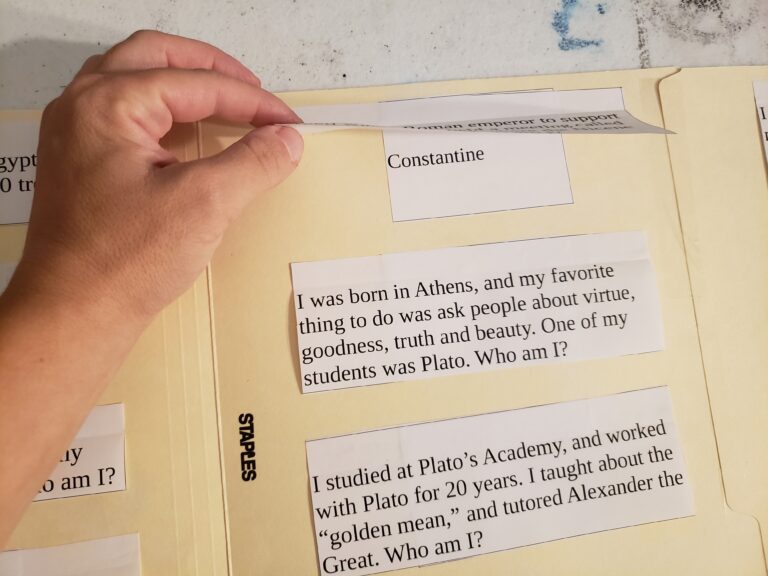
6. Add any other decorations and embelishments
At this point, I kept the lapbook simple and let my kids decorate the cover. They got to choose and draw pictures of their favorite Ancient History facts and figures to add to the front of the folder.
They loved it so much that they asked to make their own lapbooks for the next unit. We definitely will be doing this!

An Easy World History Project to Review
So, there you have it! An easy, fun project to put together to review your history lessons. You can make this as complicated or as simple as you wish. I will be trying to do this little by little in our next history unit and letting my children be more involved. It’s a great hands on approach to make history come alive!
The way we use this is when they are finished with their daily work or when there are waiting for me for one-on-one help, they can quiz themself by flipping through the lapbook. I think it will be a great tool for review.
Will you be trying this lapbook project with your kids? Please let me know in the comments!
Want another fun, Catholic history unit? Check out my ideas for learning about the Battle of Lepanto and Our Lady of the Rosary here!
Sharing is caring!
